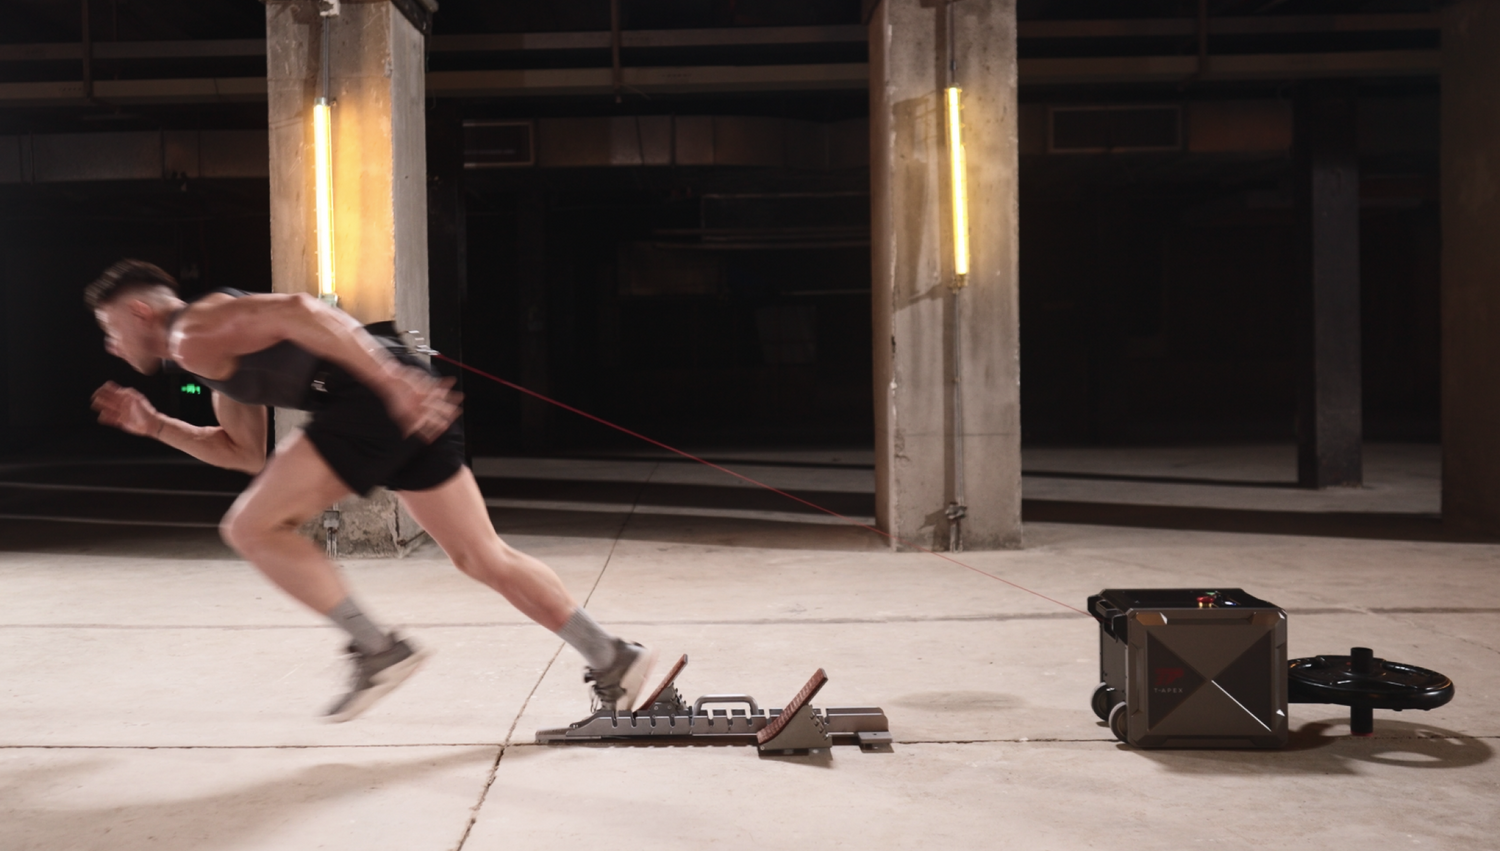
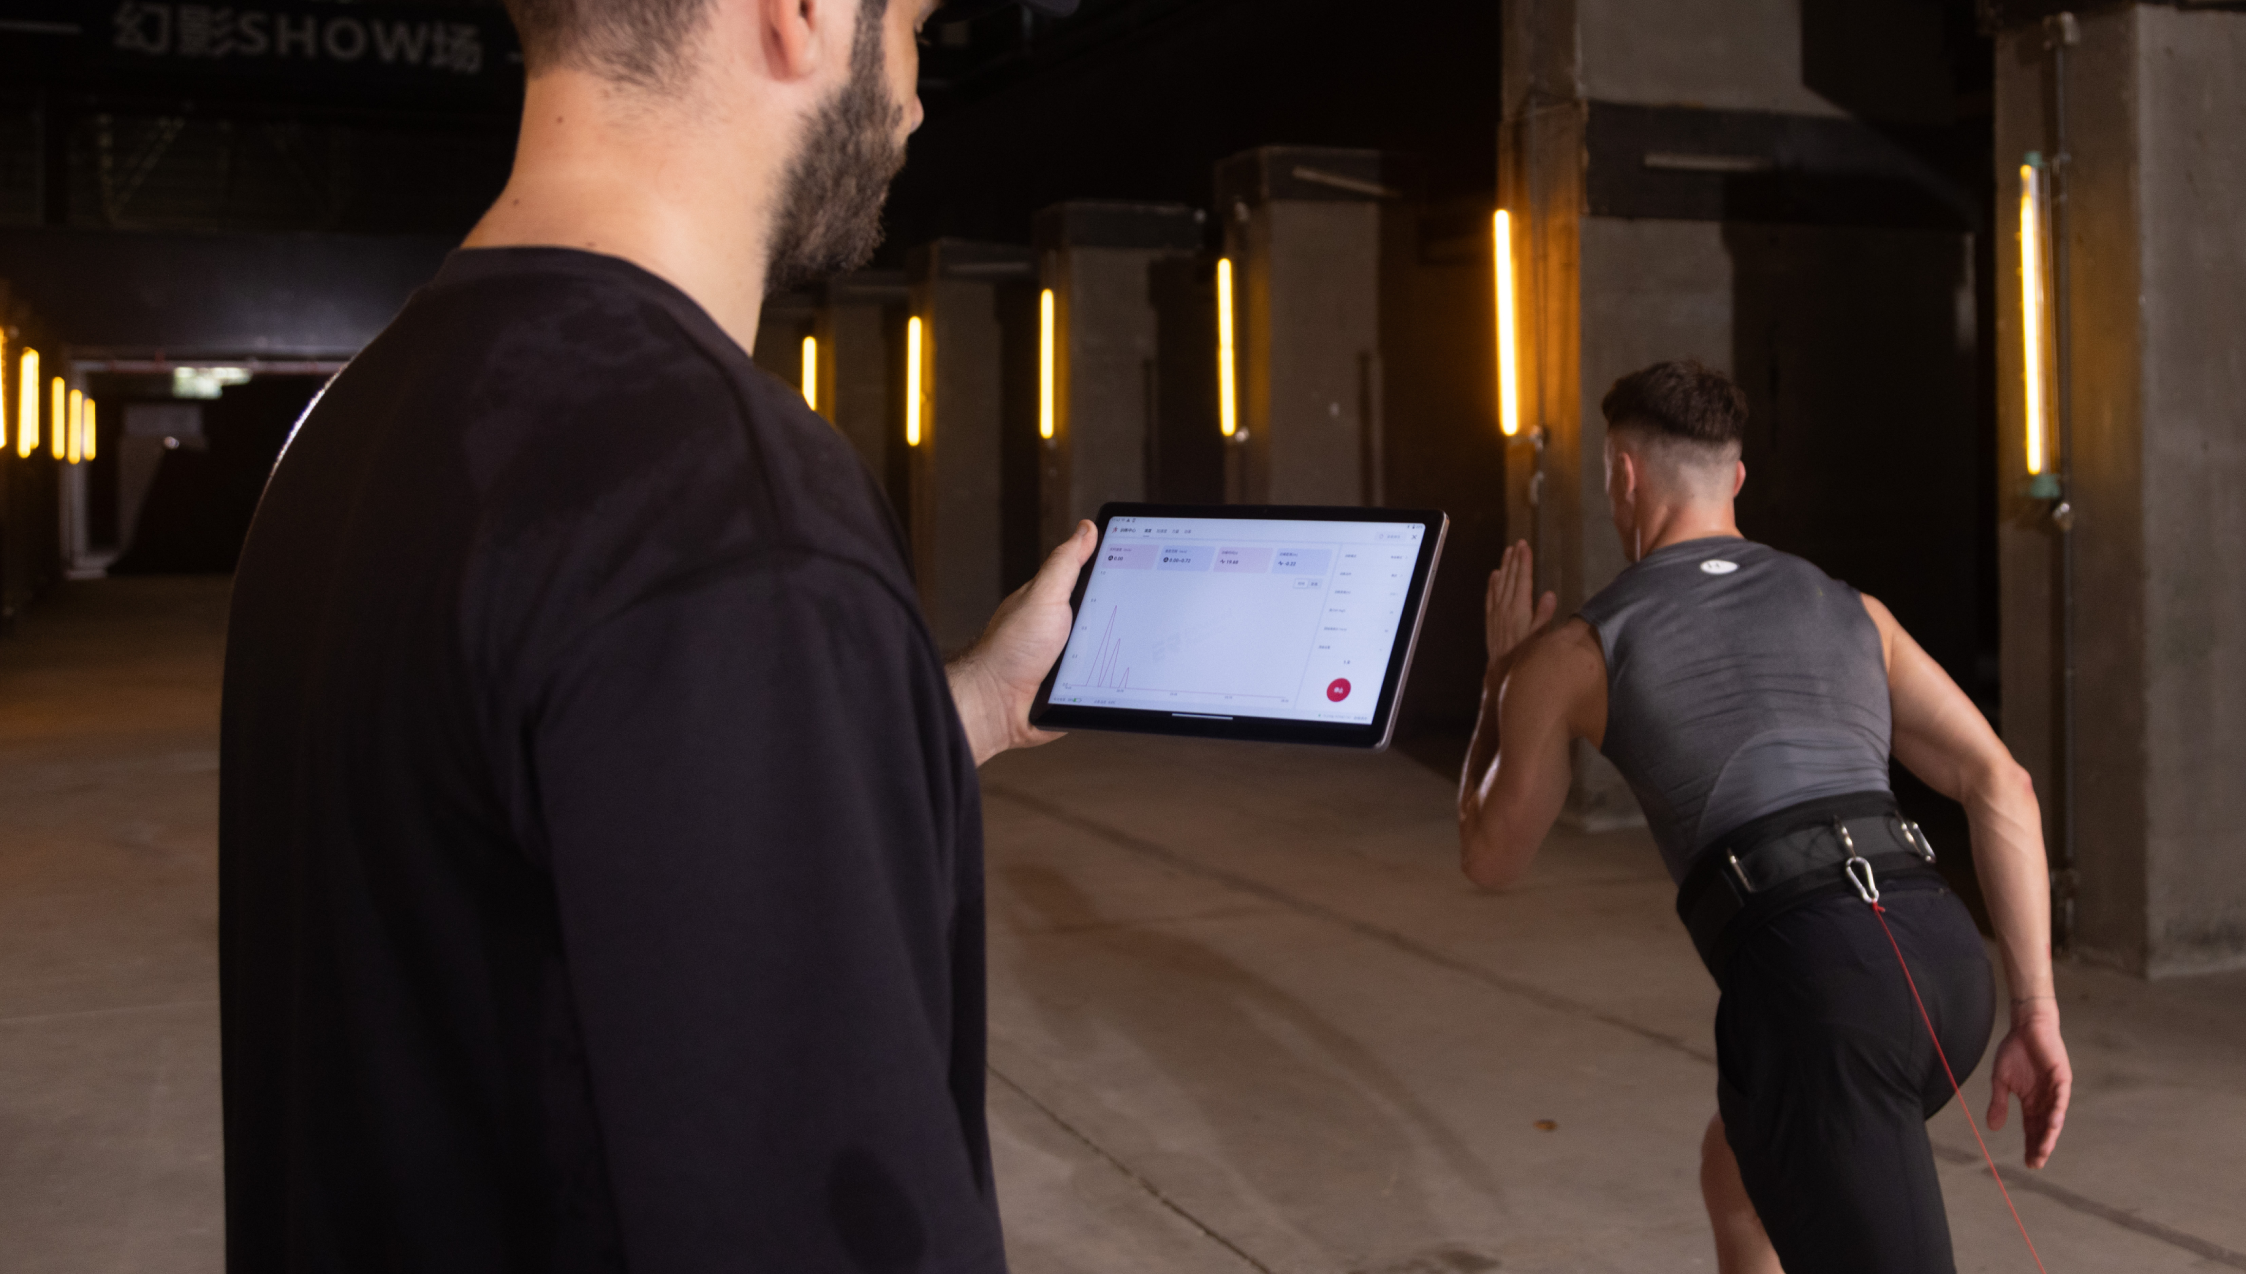
Customer's Personal Information:
-
A dedicated football coach specializing in speed and acceleration development.
-
With extensive experience in traditional training methods, including sled and resistance band work
Customer's Sports equipment requirements:
-
The equipment has various training intensities, essential for safety features to prevent overheating and for recording.
-
Ability to adjust resistance and speed for personalized training
-
Capability to export data for detailed analysis, improving training outcomes.
Conversation:
A (Customer): Hey, I'm curious about the normal mode of T-APEX. How can I optimize my training for the best results?
B(T-APEX Representative): Hey! In normal mode, you've got a few settings you can adjust. First, the training distance – this helps you limit how much data you're working with and keeps your training consistent. Then there's resistance, which is like the weight you're pulling during your workout, and the retracting speed, which is how fast the cable whips back after you're done. If you're training with a larger group, you might want to bump up the speed a bit. However, be careful not to go too fast – we recommend no more than 3 meters per second to stay safe.
A: Got it. What about the advanced settings? How does changing resistance based on velocity or distance work?
B:In the advanced settings, you can set up different zones with different resistance levels. For example, you set a resistance at 10 kg for the first zone. If you want to increase it, you can set an R change, which is how much you want to adjust the resistance for the next zone. So, if you put an R change of 5 kg, you'll have 10 kg of resistance for the first 10 meters, and then it'll drop to 5 kg.
A: That's cool. What's the purpose of the overload setting, and are there any limitations or potential drawbacks to consider?
B: The overload setting is where you can really push it – you can set the resistance higher than usual, like over 20 kg. But heads up, if you go over 15 kg, there's a safety limit to keep the motor from overheating. So, keep the momentum going after you set it – if the motor gets too hot, it'll automatically cut the resistance to 10 kg to cool down.
A: Solid. What's this auto record feature all about?
B: The auto record feature is a handy tool. It kicks in when you start and wraps up when you hit zero speed, capturing only your active training data. Just make sure not to make any unnecessary movements at the start, because even the slightest motion could cause it to stop the recording.
A: I see. Now, what about isotonic mode?
B: Isotonic mode is designed for agility and change of direction training. It's preset at a retracting speed of 7 m/s, giving you constant tension whether you're pushing off or coming back.
A: What about the overspeed training mode?
B: Overspeed training is for when you want to really push your limits. If you're gunning for speeds over 7 m/s, you'll need the overspeed kit. The kit is designed to enhance your training by increasing the maximum retracting speed from 7 to 14m/s.
A: Understood. I haven't had the chance to test the overspeed feature yet because of all the rain in Germany; wet ground isn't ideal for overspeed training.
B: Yeah. While the device can withstand a bit of rain, it's better to avoid using it in wet conditions – safety first!
A: Lastly, how do I generate a velocity profile, and what does the data look like?
B: Once you've nailed a training session, you can generate a velocity profile in the data center. It's still in the works, but you can already see your speed, resistance, and power all charted out. We're planning to add more features, like best-fit curves, to make it even more detailed. For now, you can export the data to Excel and dive deep into analyzing it.

